
There’s nothing quite like the feeling of freshly manicured nails, but regular salon visits can be time-consuming and expensive. The good news? With the right tools, techniques, and a little patience, you can achieve salon-quality nails right at home. A DIY manicure is not only cost-effective, but also a relaxing self-care ritual that leaves you feeling polished and put-together.
Step 1: Gather Your Tools
Before you begin, make sure you have all the essentials:
- Nail polish remover and cotton pads
- Nail clippers and a nail file
- Cuticle pusher and cuticle remover or oil
- Buffer block
- Base coat and top coat
- Your favorite nail polish
Optional: hand cream, nail brush, and quick-dry drops or spray
Pro tip: Set up your manicure station on a flat surface with good lighting. Lay down a towel to protect your work area from spills.
Step 2: Remove Old Polish and Clean Your Nails
Start by removing any old nail polish with a gentle, acetone-free remover if possible (especially if you have dry or brittle nails). Use a cotton pad or reusable remover pad and wipe thoroughly.
Then, wash your hands with warm water and a nail brush to clean under the nails and remove residue. This gives you a clean canvas and prevents polish from lifting prematurely.
Step 3: Trim, File, and Shape
Use nail clippers to trim your nails to your desired length. Then use a fine-grit nail file to shape your nails – whether you prefer square, round, almond, or oval, consistency is key.
File in one direction only to avoid splitting or peeling, and smooth the edges for a clean finish.
Step 4: Care for Your Cuticles
Soften your cuticles with cuticle oil or remover, then gently push them back using a cuticle pusher. Avoid cutting them unless absolutely necessary, as they help protect against infection.
Afterward, wash your hands again or wipe nails clean to remove any leftover oil that could interfere with polish application.
Step 5: Buff and Clean
Use a buffer block to smooth the surface of each nail, which helps polish adhere better and creates a glossy, even look. But don’t over-buff – a few gentle strokes are enough.
Wipe nails down with a bit of polish remover to remove any dust or oils before painting.
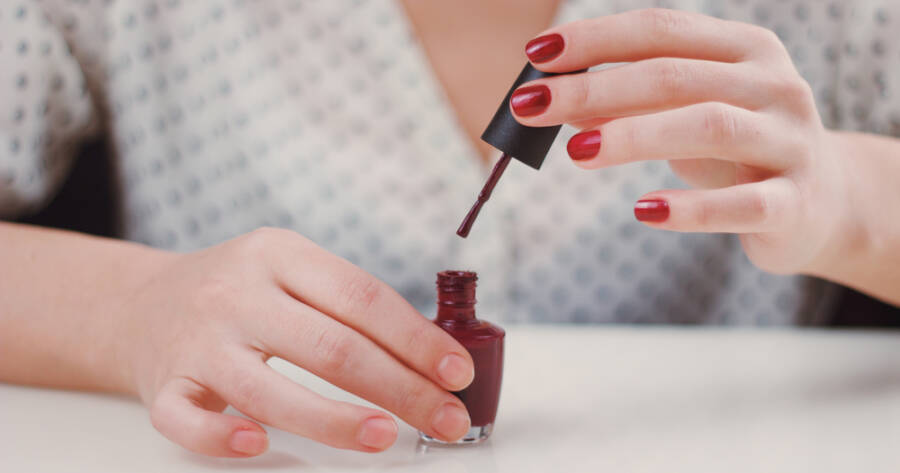
Step 6: Apply Your Polish
This is where the magic happens. Follow this order for a long-lasting, chip-resistant manicure:
- Base Coat: Protects your nails and helps the color adhere. Let it dry completely.
- Color: Apply two thin coats of your nail polish, letting each coat dry for a minute or two. Thin layers dry faster and chip less.
- Top Coat: Seals in color and adds shine. A good top coat can extend your manicure by several days.
- Pro tip: Cap the edge of each nail by running the brush along the tip — it helps prevent early chipping.
Step 7: Dry and Moisturize
Let your nails dry completely, ideally 15–20 minutes. Use quick-dry drops or spray if you’re in a hurry, but try to avoid using your hands too much right after finishing.
Once dry, apply a moisturizing hand cream and cuticle oil to rehydrate your skin and add that luxurious finishing touch.
Bonus Tips for a Longer-Lasting Manicure:
- Avoid soaking nails before painting – it can cause polish to lift.
- Wear gloves when doing dishes or cleaning.
- Reapply a thin layer of top coat every few days for added protection.
Treat Yourself to At-Home Nail Perfection
With a little time and attention to detail, you can create a flawless DIY manicure that looks like it came straight from the salon. It’s the perfect way to indulge in self-care while saving money and learning a new skill.
So grab your favorite polish, carve out some me-time, and let your hands do the talking, beautifully.